Why Water Heater Leaks Demand Immediate Attention
A water heater leak can quickly escalate from a minor drip to a major disaster. Taking swift action is crucial to prevent property damage, avoid safety hazards, and protect your home.
Immediate Actions for Water Heater Leaks:
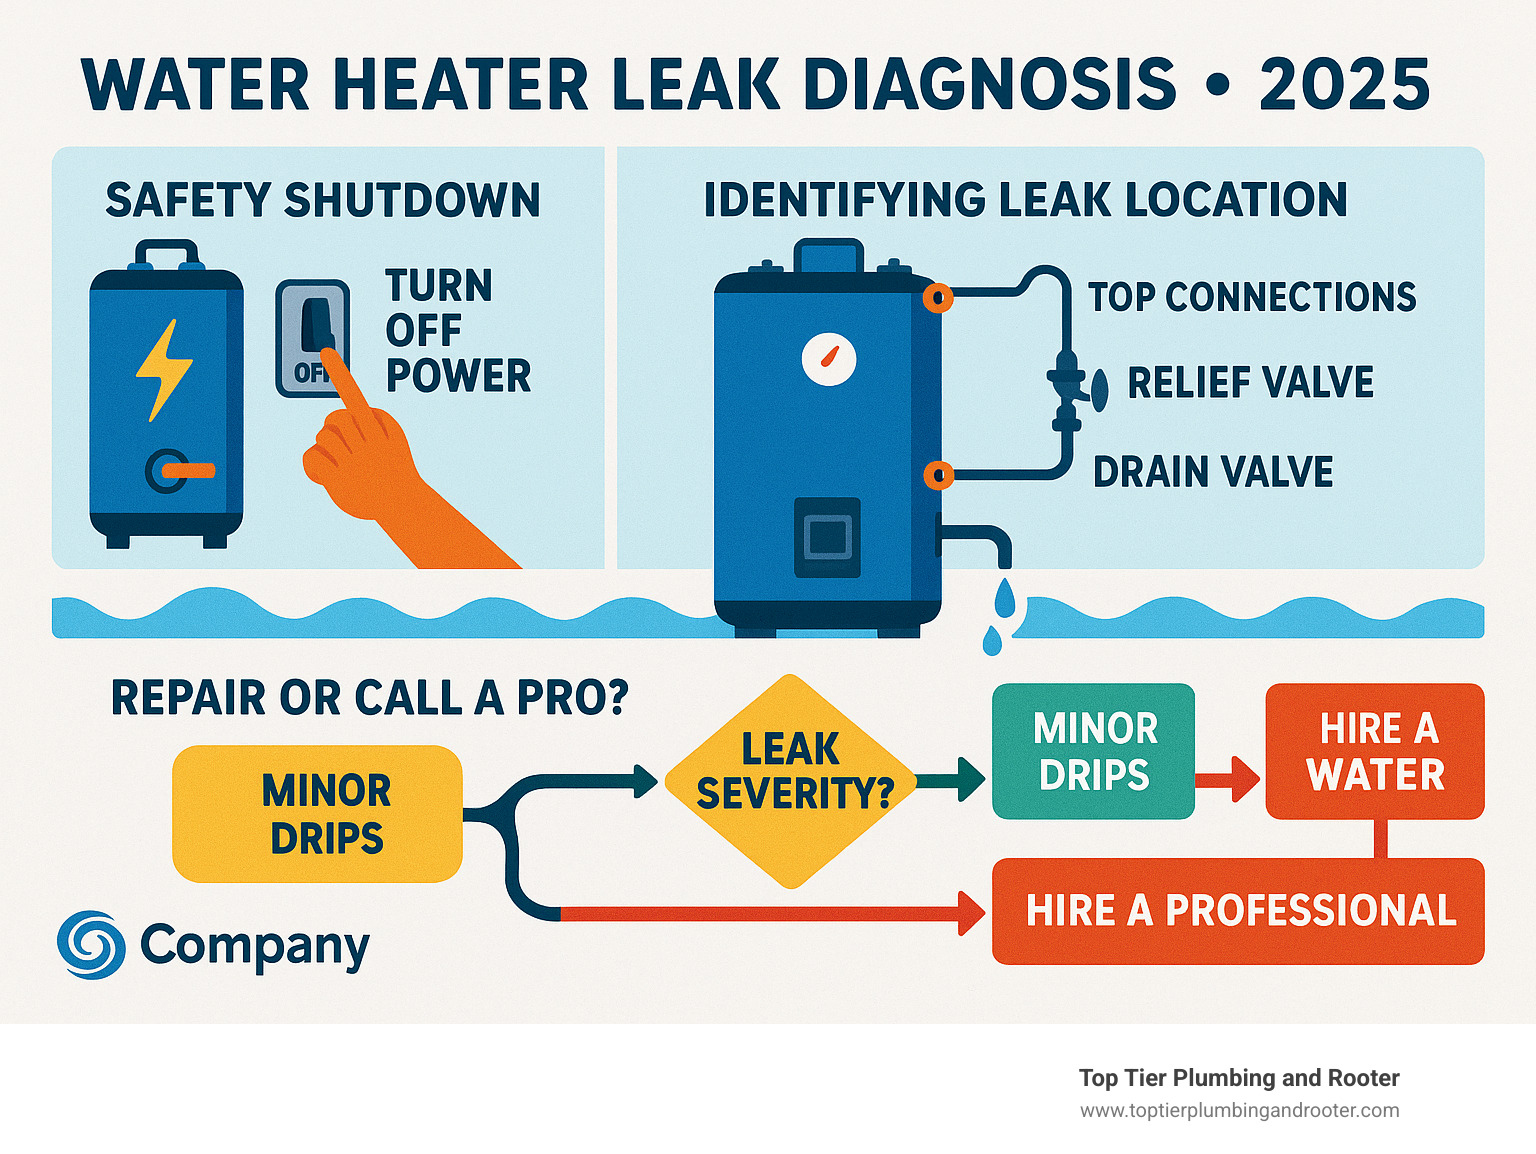
- Turn off the power: Flip the circuit breaker for an electric unit or turn the gas valve to “off” for a gas heater.
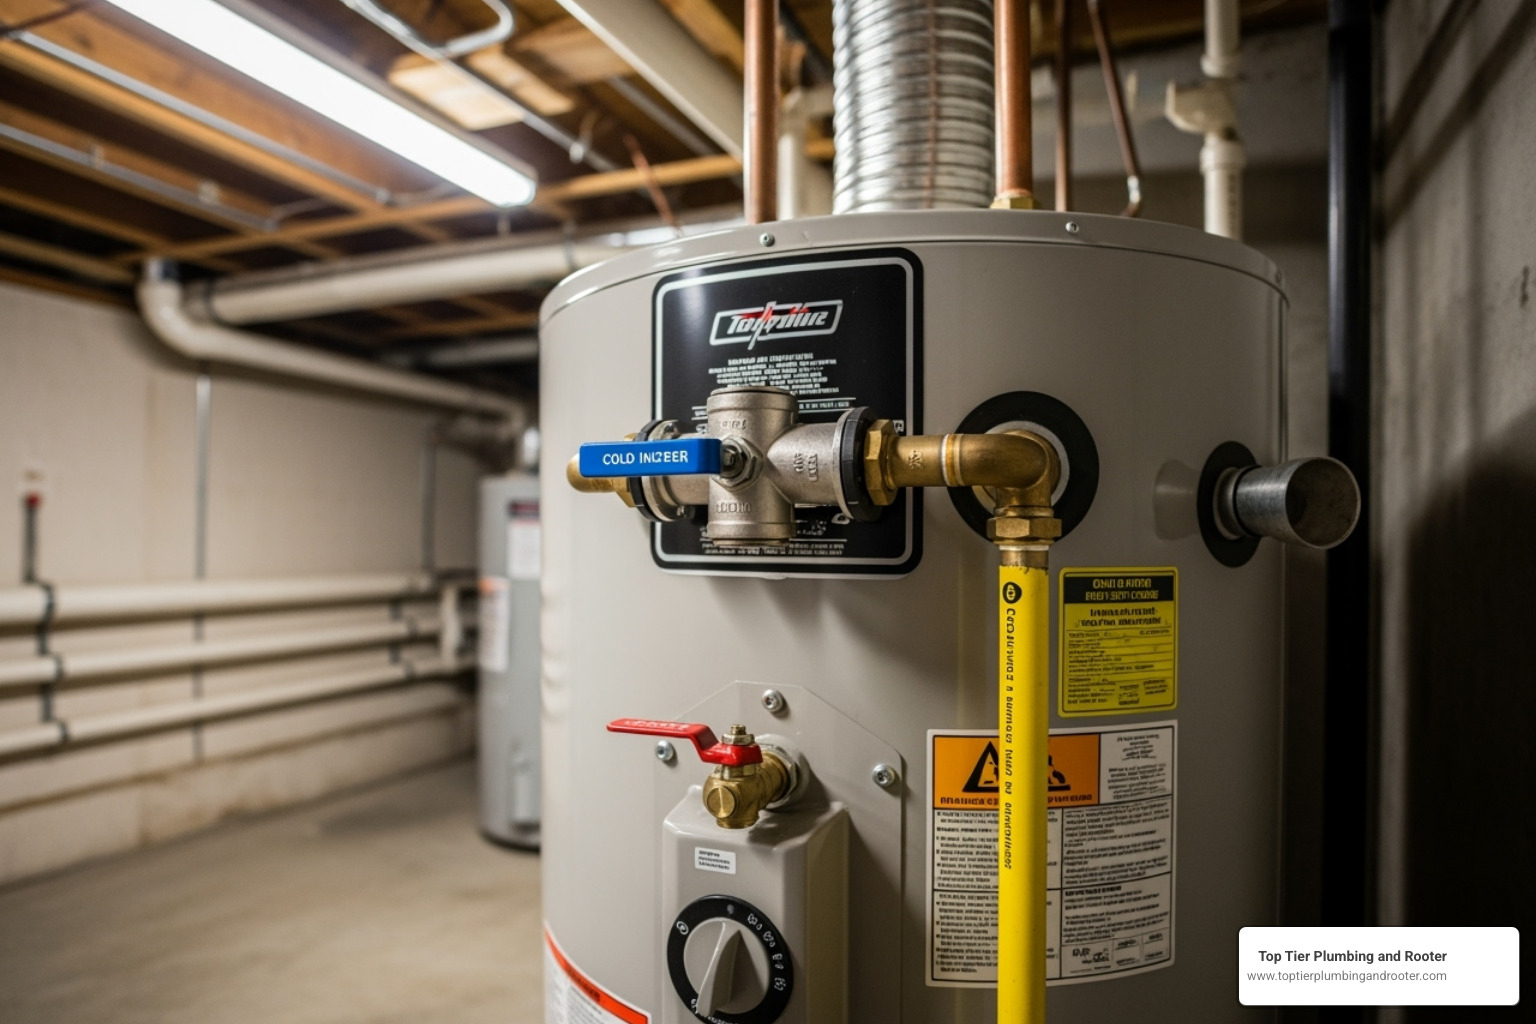
- Shut off the water supply: Close the cold water inlet valve, usually found at the top of the tank.
- Identify the leak source: Check connections at the top, the relief valve on the side, and the drain valve at the bottom.
- Assess the severity: Determine if it’s a minor drip or pooling water that requires an emergency response.
- Clean up the water: Mop up any water immediately to prevent mold and structural damage.
Water heaters typically last 8-12 years, and a leak often signals an underlying issue that won’t resolve on its own. Ignoring a leak can lead to significant water damage, mold growth, and dangerous electrical hazards.
Many leaks have identifiable causes; some are simple DIY fixes, while others need professional attention. Knowing the difference is key. In Riverside and San Bernardino counties, hard water can accelerate tank corrosion, making regular maintenance even more critical to catch problems before they become emergencies.
First Response: Immediate Steps for a Water Heater Leak
When you find a water heater leak, acting quickly is key. The severity determines the urgency, but your safety is always the top priority. A major leak can flood your home and create electrical hazards, while even a minor drip can cause damage over time.
Before investigating, you must shut down the unit completely to prevent further damage and eliminate the risk of electrical shock. If you feel overwhelmed or the repair seems complex, our water heater repair services can help restore your hot water safely.
Safety First: Shutting Down Your Water Heater
Follow these steps to put your water heater in “safe mode”:
- Power down the unit: For an electric model, go to your electrical panel and flip the corresponding circuit breaker to “OFF.” For a gas model, find the gas supply valve near the unit and turn it clockwise until it stops. You can also turn the temperature dial to “Pilot.”
- Stop the water supply: Locate the cold water inlet valve at the top of the tank and turn it clockwise to close it. If you can’t find it or it’s stuck, shut off your home’s main water valve.
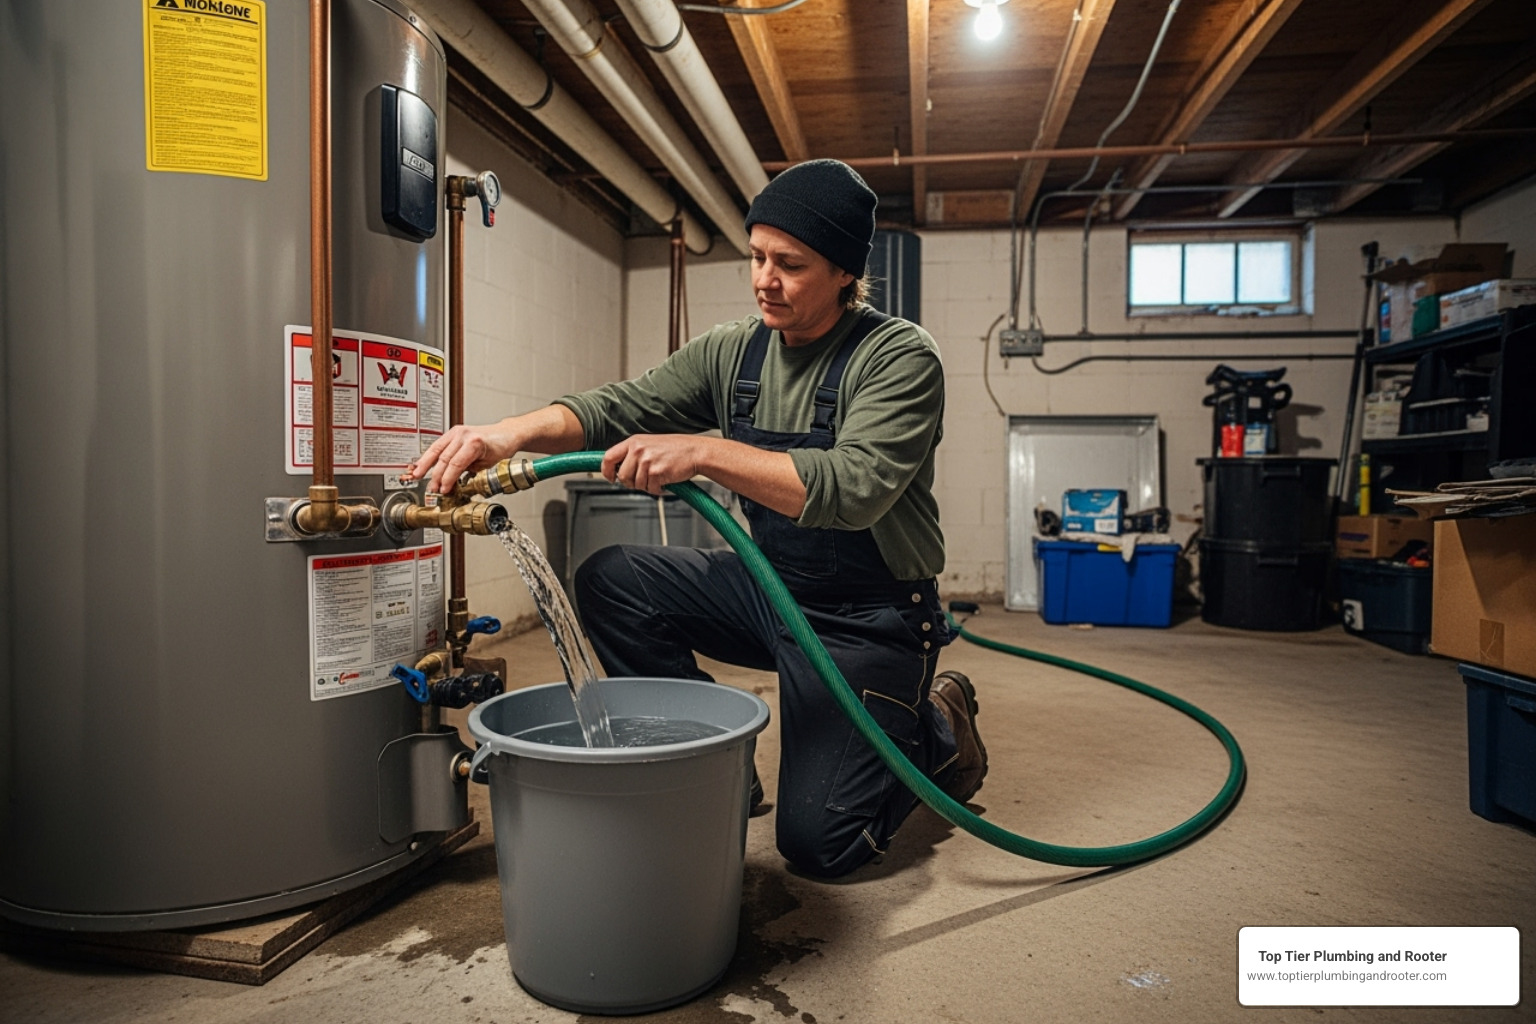
- Drain the tank (for severe leaks): Attach a garden hose to the drain valve at the bottom and run it to a floor drain or outside. Open a hot water faucet in your home to allow air into the system, then open the drain valve. Be cautious, as the water will be hot.
Assessing the Severity
With the unit safely off, assess the situation:
- A minor drip: While not an immediate crisis, slow drips can lead to water damage and mold. Address it promptly.
- Pooling water: This indicates a more serious water heater leak that requires immediate attention to prevent flooding.
- Standing water or active flooding: This is an emergency. After securing the unit, your priority is to contain and clean up the water to prevent structural damage.
The bottom line: never use a leaking water heater. Until the problem is fixed, it’s unsafe. Cold showers are a temporary inconvenience that is far better than a flooded home or a dangerous electrical situation.
Diagnosing the Drip: How to Find the Source of the Leak
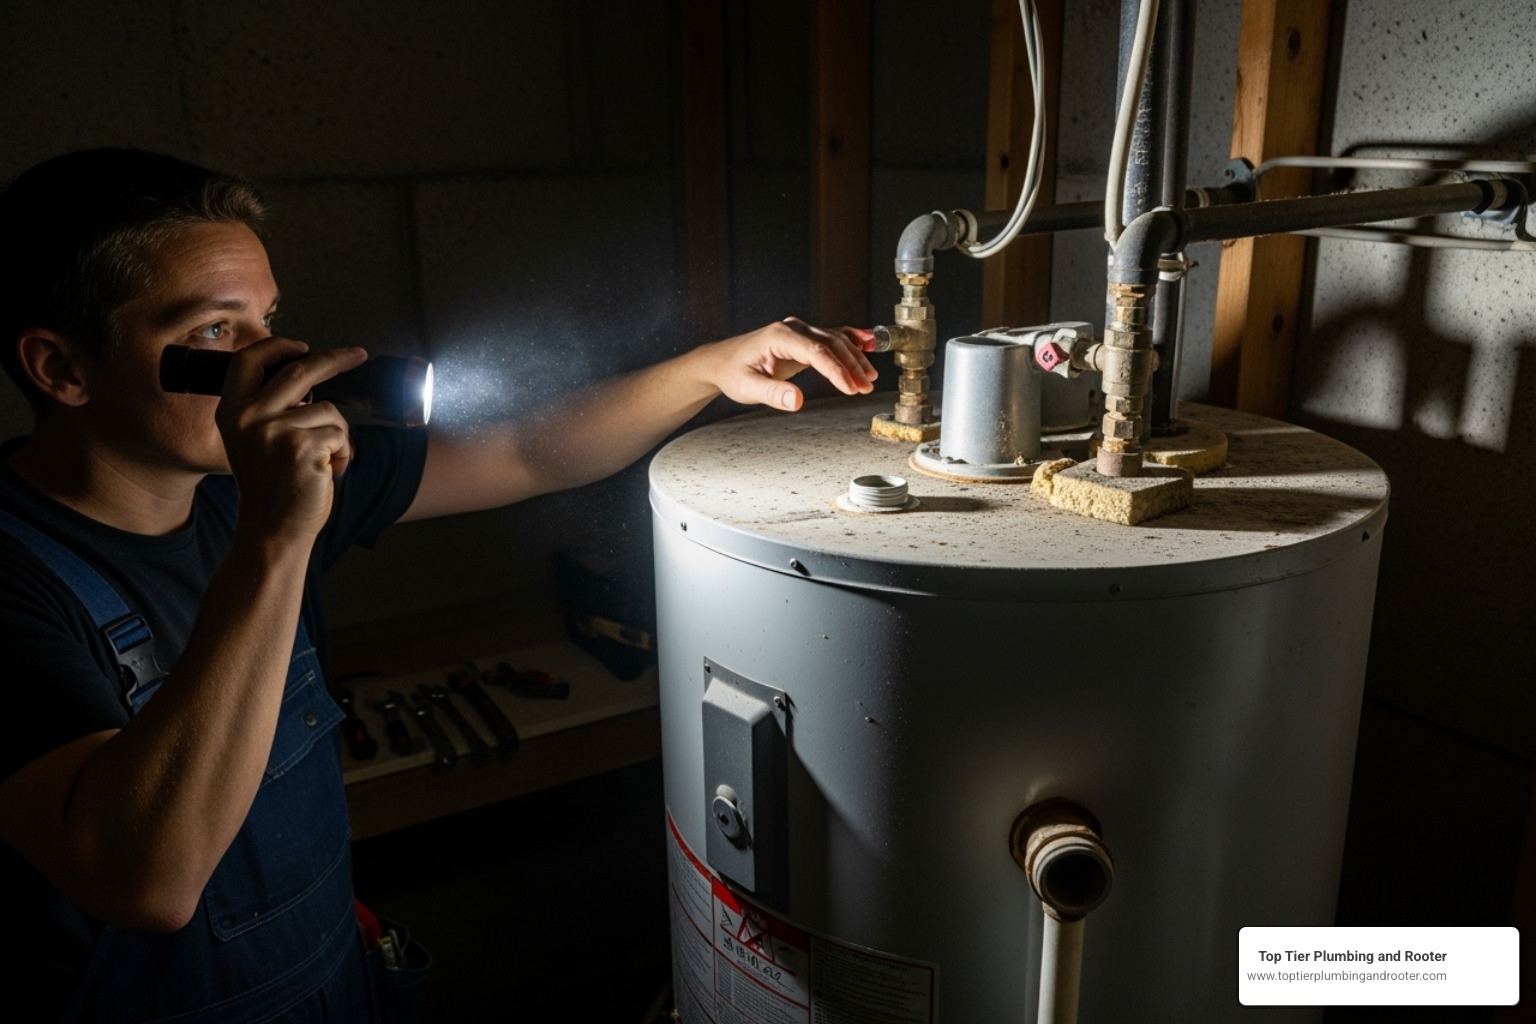
With the area secured, it’s time to find the source of the water heater leak. Using a flashlight and paper towels, you can systematically check the most common trouble spots. Listen for any rushing or dripping sounds and work your way from the top of the unit to the bottom.
Is It a Leak or Just Condensation?
Sometimes, what looks like a leak is just harmless condensation, especially in humid areas or when cold water fills a warm tank. Wipe the exterior of the tank completely dry. If moisture quickly reappears in the same spot, it’s likely a leak. If it only appears occasionally, it’s probably condensation. Also, check nearby appliances like AC units or furnaces, as the water could be coming from another source. Warning: Water dripping onto the burner of a gas heater is a red flag for internal tank failure, not condensation.
Checking for Leaks from the Top
The inlet and outlet connections at the top of the tank are under constant pressure and are common leak points. Use a flashlight to inspect these fittings for drips, mineral deposits, or corrosion. A loose connection can sometimes be fixed with a gentle tightening using a pipe wrench, but be careful not to overtighten and strip the threads. Also, look for corrosion around the pipes and dielectric unions, which are installed to prevent corrosion between different metals. Learn more about proper dielectric fittings to understand their importance.
Investigating Leaks from the Side
If water is coming from the side of the tank, the prime suspect is the Temperature and Pressure (T&P) relief valve. This crucial safety feature releases water if the temperature or pressure inside the tank gets too high. Inspect the valve and its attached discharge pipe.
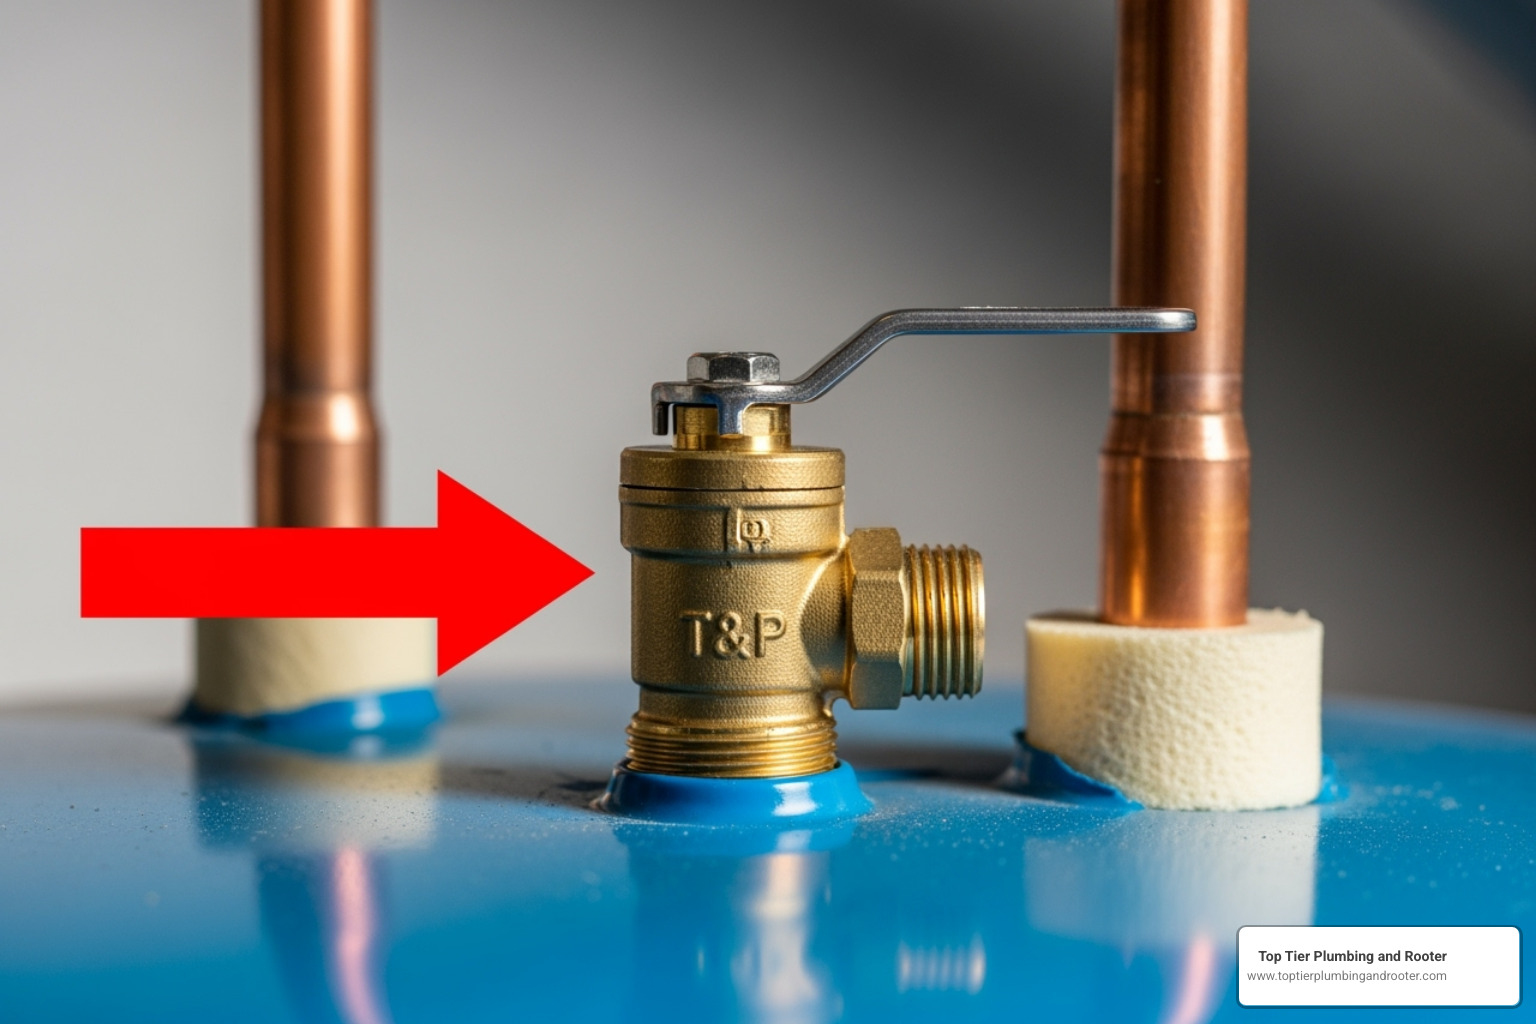
A leak here means one of two things: the valve is faulty and needs replacement, or it’s working correctly due to dangerously high pressure/temperature in the tank. The second scenario is a serious issue that requires immediate professional diagnosis.
Troubleshooting a Water Heater Leak from the Bottom
A water heater leak from the bottom can signal a serious problem. First, check the drain valve. It can wear out, loosen, or get clogged with sediment, and sometimes a faulty washer is the culprit. In areas with hard water like Riverside and San Bernardino counties, sediment buildup is a major issue that accelerates corrosion and causes leaks.
The most serious cause is internal tank corrosion. If water is seeping from the tank body itself, its inner lining has likely failed. This type of damage is irreparable, and the water heater must be replaced. Rust-colored water is a strong indicator of internal tank failure.
DIY Fixes for Common Leaks (and When to Stop)
Once you’ve found the source of your water heater leak, you can decide whether to fix it yourself or call a professional. Some issues, like loose connections or faulty valves, can be simple DIY repairs. However, knowing your limits is crucial for safety.
Important: If the leak is coming from the tank itself, it indicates internal corrosion and is not a DIY fix. The unit will need to be replaced. Learn more about how to know when it’s time to replace your water heater. If you feel uncomfortable at any point, stop and call a professional.
Tightening Loose Connections
If you see dripping from the inlet or outlet pipes on top of the tank, a loose connection may be the cause. Use a pipe wrench to apply gentle pressure—often just a quarter-turn is enough. Be careful not to overtighten, as this can strip the threads and worsen the problem. Wipe the area dry and observe to see if the dripping has stopped.
Addressing a Faulty Drain Valve
A leaky drain valve is a common issue. For a temporary fix, you can screw a brass garden hose cap onto the valve’s threads. Sometimes, debris is preventing the valve from closing fully. With the power and water off, place a bucket underneath and open the valve for a few seconds to flush it out. If this doesn’t work, the valve may need replacing. This is a manageable DIY project for some, but it requires draining the tank first. This helpful tutorial video shows the process.
Managing a Leaking T&P Valve
A leaking Temperature and Pressure (T&P) relief valve indicates a problem. If it’s leaking due to high pressure, try lowering the temperature setting on your water heater. The Department of Energy recommends a setting of 120°F for safety and efficiency. You can test the valve by lifting the lever; water should flow freely and stop when you release it. If it only trickles or continues to leak, the valve is faulty. While replacing a T&P valve is a possible DIY job, it’s a critical safety component. If you’re not 100% confident, it’s best to call a professional.
The Bigger Picture: Causes, Prevention, and When to Replace
Understanding why water heater leaks happen can help prevent future problems. Most tank water heaters last 8-12 years, and age is a primary factor in component failure. As units get older, the risk of leaks increases significantly. If you’re considering an upgrade, you can explore the pros and cons of traditional vs tankless water heaters in Riverside and San Bernardino County.
Common Causes of Leaks
- Age and Corrosion: Over time, the tank’s inner lining corrodes, creating weak spots that lead to leaks.
- Hard Water and Sediment: In Riverside and San Bernardino counties, hard water causes mineral sediment to build up at the bottom of the tank. This forces the unit to work harder, leading to overheating and stress cracks.
- High Water Pressure: Excessive pressure in your home’s plumbing puts constant strain on the tank and its connections.
Preventative Maintenance to Avoid a Future Water Heater Leak
Most water heater leaks are preventable with routine maintenance.
- Annual Flushing: Flushing the tank once a year removes sediment buildup, improving efficiency and extending the unit’s lifespan. This is especially crucial in our hard water region.
- Anode Rod Inspection: The anode rod is a sacrificial component that corrodes to protect the tank. It should be inspected and replaced every 3-5 years.
- T&P Valve Testing: Regularly test the T&P valve to ensure it functions correctly. A faulty valve should be replaced immediately.
- Professional Inspections: An annual service can catch potential issues before they become emergencies. Learn more about our water heater annual service to ensure comfort and efficiency.
Repair or Replace? Making the Right Call
Deciding whether to repair or replace your water heater depends on a few key factors. If the tank itself is leaking, replacement is the only option, as internal corrosion cannot be repaired. For leaks from components like valves or pipes, repair is often possible. For more guidance, see our guide on should you replace or repair your water heater.
| Factor | Consider Repair If… | Consider Replacement If… |
|---|---|---|
| Age of Unit | It is less than 8 years old. | It is over 10 years old. |
| Leak Source | The leak is from an external component (valve, pipe, fitting). | The tank itself is leaking (due to internal corrosion). |
| Repair History | This is the first major repair. | The unit requires frequent or costly repairs. |
| Efficiency | The unit is still energy-efficient. | The unit is old and inefficient, causing high utility bills. |
| Warranty | The unit is still under warranty. | The warranty has expired. |
Frequently Asked Questions about Water Heater Leaks
Here are answers to some of the most common questions homeowners in Riverside and San Bernardino counties have about a water heater leak.
Is a leaking water heater an emergency?
It depends on the severity. A major leak with significant pooling water is an emergency due to the risk of flooding and electrical shock. Shut down the unit and call for help immediately. A minor drip is less urgent but still requires prompt attention to prevent water damage and mold growth.
Can I continue to use a leaking water heater?
No. It is unsafe to operate a leaking water heater. Continuing to use it can worsen the leak, leading to extensive flooding and property damage. Shut off the power and water supply to the unit until it has been repaired or replaced.
What are the dangers of a leaking water heater?
A water heater leak poses several serious risks:
- Water Damage: Even a small leak can cause costly damage to floors, walls, and your home’s structure over time.
- Mold Growth: The constant moisture creates an ideal environment for mold, which can cause health issues and require expensive remediation.
- Electrical Shock: If water comes into contact with electrical components, it creates a severe shock hazard. This is why shutting off the power is the critical first step.
- Pressure Buildup: In rare cases, a leak related to a faulty pressure relief system can lead to a dangerous buildup of pressure inside the tank, posing a risk of rupture.
Conclusion: Your Next Steps for a Leak-Free Home
Finding a water heater leak is stressful, but now you know how to respond effectively. By prioritizing safety and shutting off the power and water, you can prevent a small problem from becoming a major one. You’re equipped to diagnose the source, attempt simple DIY fixes, and recognize when it’s time to call a professional.
Proactive maintenance is the best way to prevent leaks. In our hard-water areas of Riverside and San Bernardino county, annual flushing and regular inspections are essential for extending the life of your water heater.
Sometimes, you need an expert. If you’re facing a leak you can’t solve, dealing with an old tank, or simply want the job done right, Top Tier Plumbing and Rooter is here to help. We’ve handled every type of water heater leak and provide expert residential plumbing services throughout Riverside and San Bernardino counties. With 24/7 availability, same-day service, and a 100% satisfaction guarantee, we deliver quality work that keeps your home safe.
Don’t let a small drip turn into a disaster. Whether you fix it yourself or call us for help, taking action is the most important step. Contact us for expert pipe leak repairs and restore the peace of mind that comes with a leak-free home.


